Chapter 2: Familiar Scenery
Hapstring Moon: 5/11
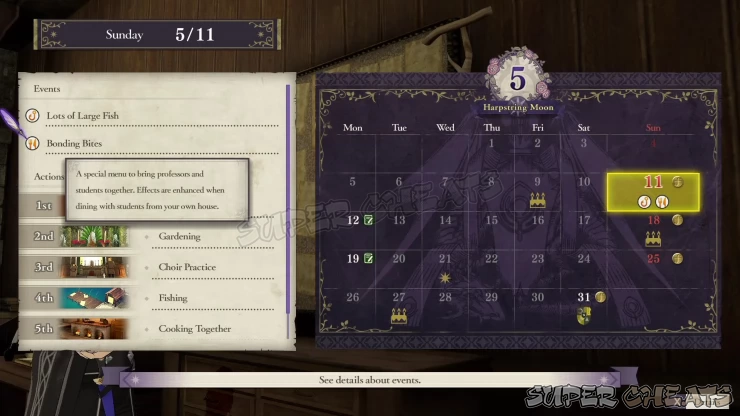
Events and Announcements:
* Lots of Large Fish (higher chance of encountering large fish)
* Bonding Bites (enhanced effects when dining with students from your own house)
* New items and weapons will be available from the Marketplace.
New Quests Available:
* Troubling Rumors (available for this month only)
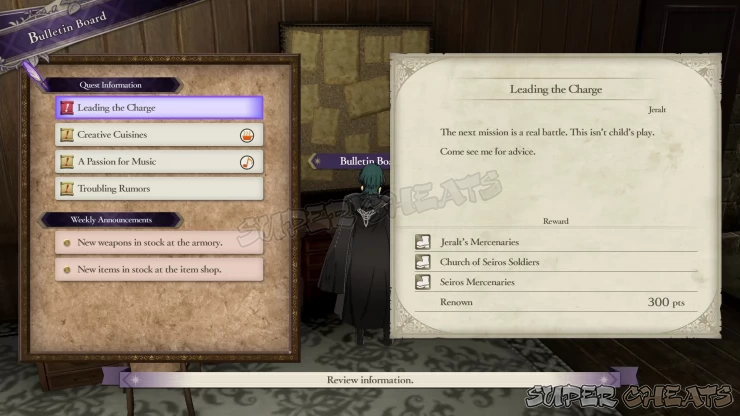
On this day, you can only Explore the monastery. Fast-travel is now also unlocked. You can fast-travel to the quest giver in locations you already discovered. Otherwise, you have to go there. In this case, we still need to personally visit the Cathedral for a related side quest.
Talk to your House Leader as one of the main tasks. You can ask him/her about the Faculty Training and Recruiting students from other houses. Once done, you can proceed in doing the other activities you want.
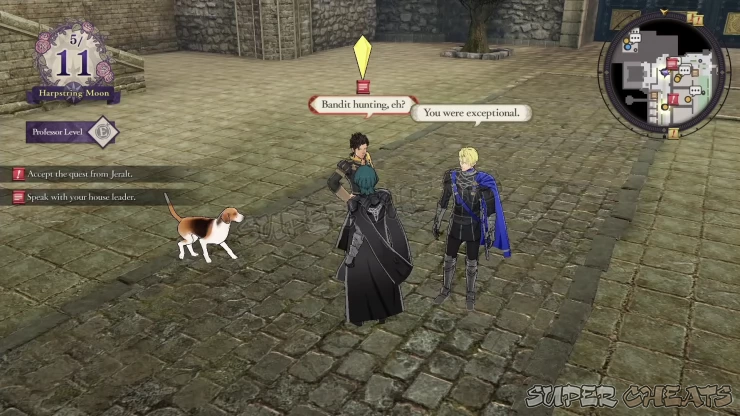
After accepting the main quest from Jeralt (Leading the Charge), you’ll receive three Battalions. Make sure to assign one of them to your character and your house leader, then assign the last Battalion to one of your favorite units.
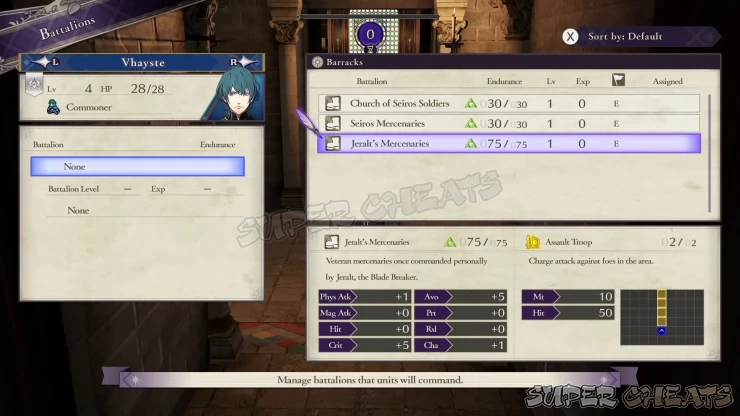
Once done, you can explore some more or just fish as long as you have lures. Once done, save if you want then finish exploring to move on with the story.
Harpstring Moon: 5/12
Every Monday (whenever available) will be your lecture day. Here you’ll be able to manually teach your students and help customize their growth. For now, you’ll receive the tutorial about Instructing. We suggest checking out and reading each subject / topic.
For now, you’ll have three Lesson Activity Points. I suggest manually instructing the students with full motivation (green smiley icon) since you can instruct them at least four times. You can focus on their strengths for the meantime.
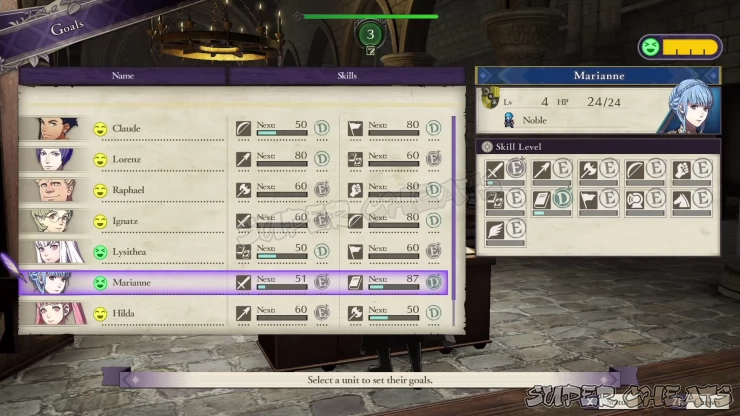
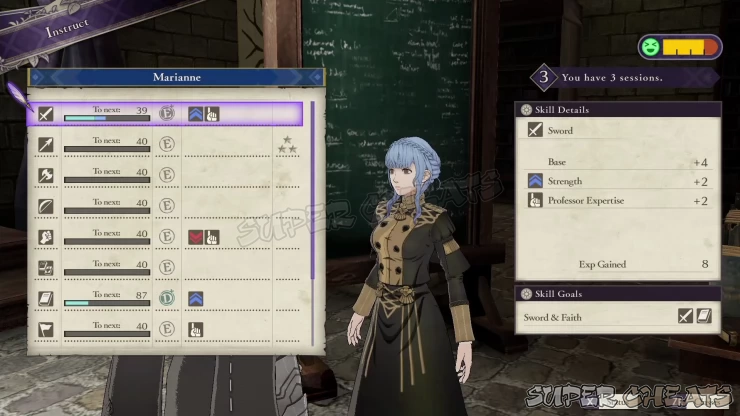
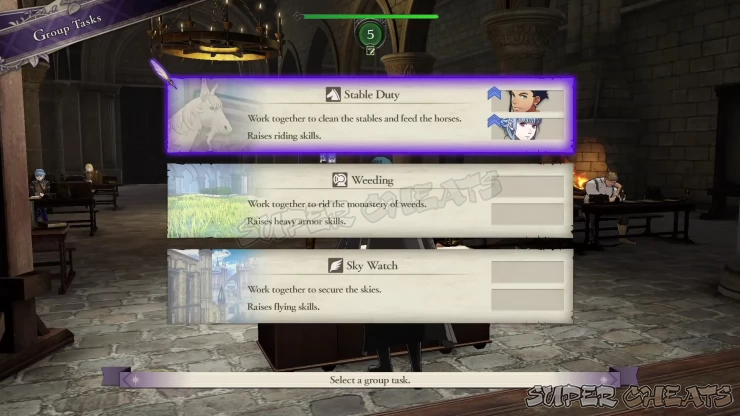
After instructing the selected students, set two students to work together in a Group Task. Stable Duty is the common selection since there’s a lot of Cavalry units in the game compared to heavy armored or flying units.
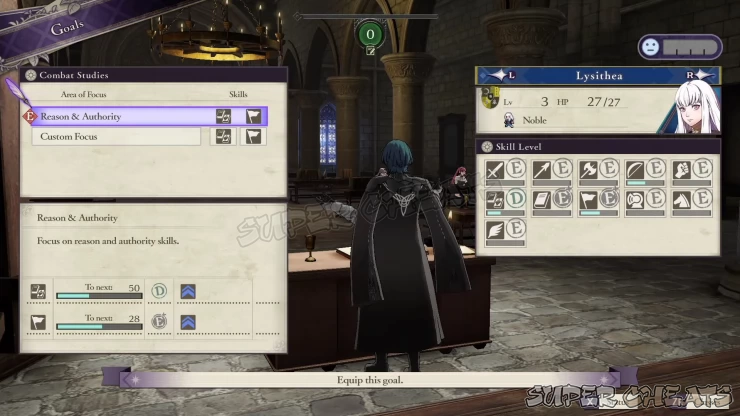
For the Goals, you can modify them now, depending on what classes you’re planning to certify your students to. Otherwise, it won’t hurt letting them focus on their default Skill Goals. Begin your lecture afterward. The days will then automatically move until Saturday.
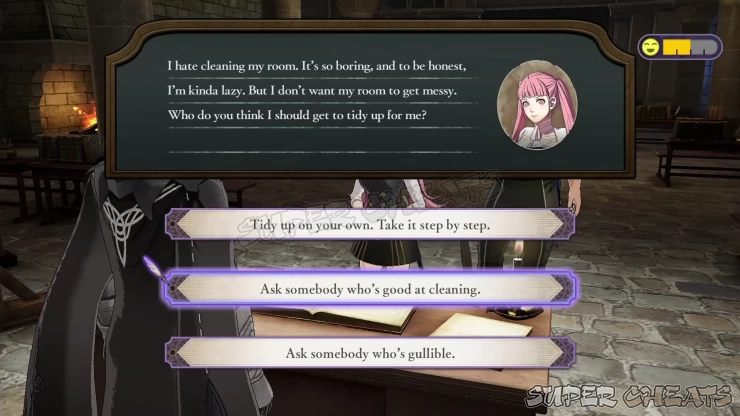
After beginning your lecture, some students may approach you with their individual questions. Pick the correct answer (with their personalities in mind) to gain +50 motivation.
Harpstring Moon: 5/17
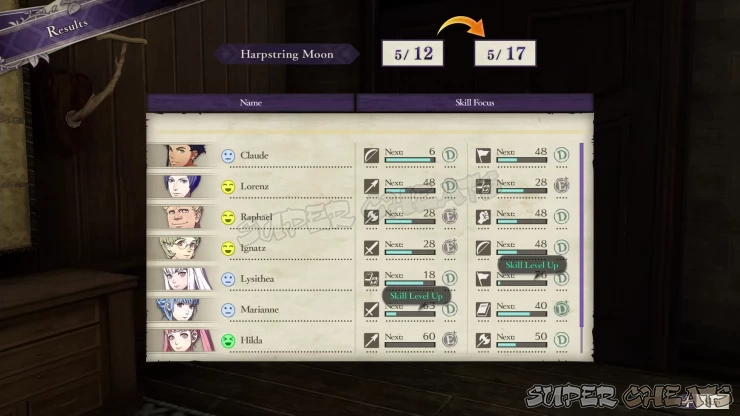
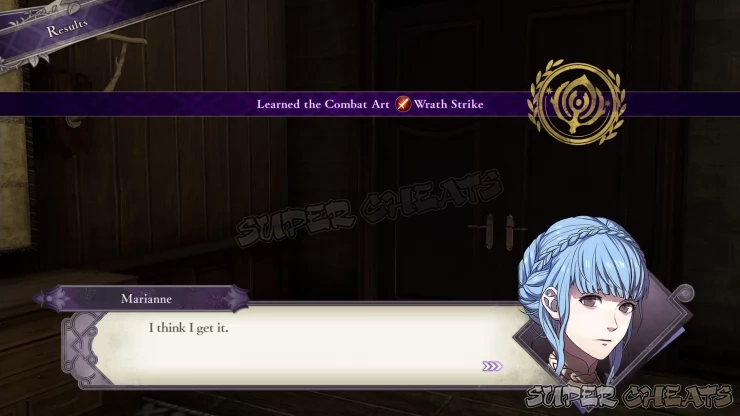
Saturdays are usually day where you’ll see the results of your students’ progress for the study week. If their skills leveled up at this point, they’ll also automatically learn new combat arts, magic, etc.
Harpstring Moon: 5/18
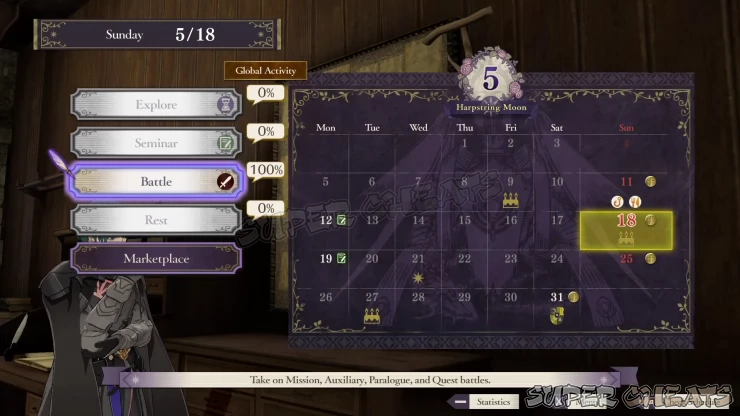
For this weekend, you can only select Battle. Do so and you’ll be taken to the battle selection screen. From there, you can only select Auxiliary - Practice Battle.
Battle: Practice Battle
This practice battle is pretty much straightforward and easy to win. You can deploy 10 units now but your team will only have 9 combatants, including Byleth. While in the Battle Preparation Screen, check your units’ individual equipment and arrange their positions on the Map. When ready, start the battle.
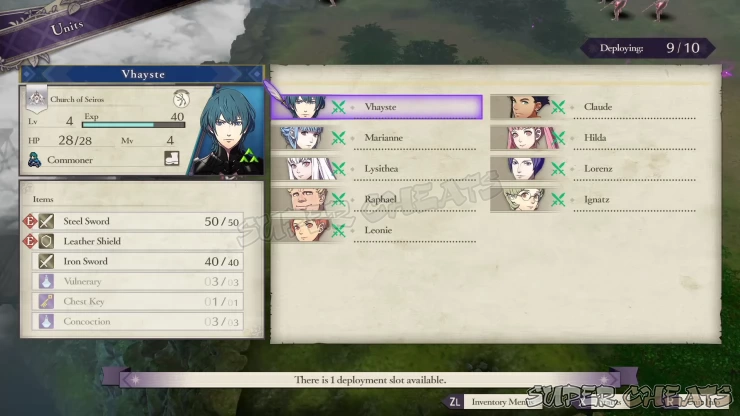
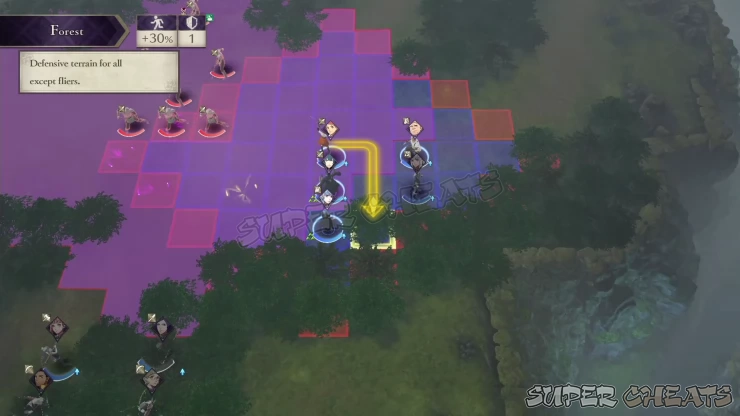
In this Map, you’ll see purple and yellow floating orbs on certain tiles. These are the Spirits of the Fallen. I suggest working your way in placing units there as you wipe out the enemies. You can safely divide your units to two groups here. Early in the battle, make sure to turn on the Danger Radius. Move your groups together, enter the forest tiles, and lure the enemies in attacking your units.
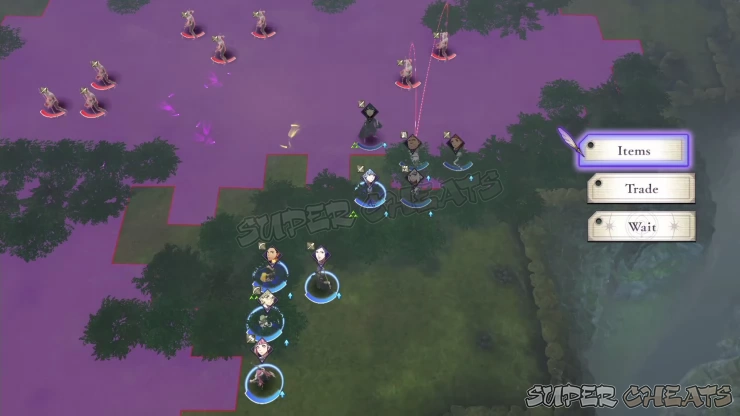
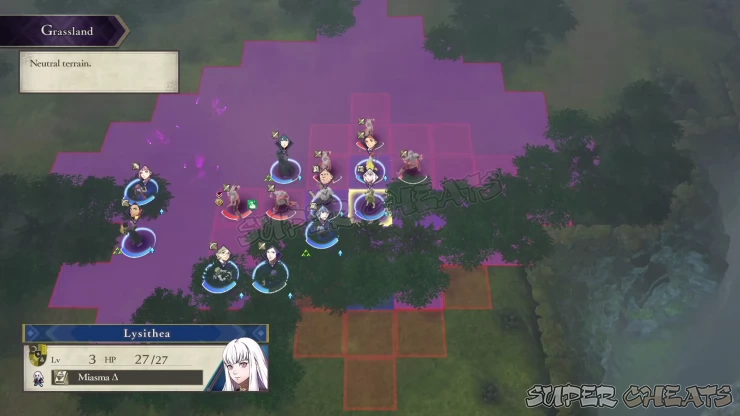
After taking out the nearest group of enemies, you can now try baiting the remaining enemies in the upper half of the Map by letting one of your units enter their Danger Radius, not far enough not to get ganged up. You can also move your other allied group northward. Once the enemies start moving in, you can fall back to the forest or outside their Attack Range so when they move again the following turn, your team will be able to regroup and surround them. Make sure to interact with the Spirits before wiping out the enemy force and securing victory.
Harpstring Moon: 5/25
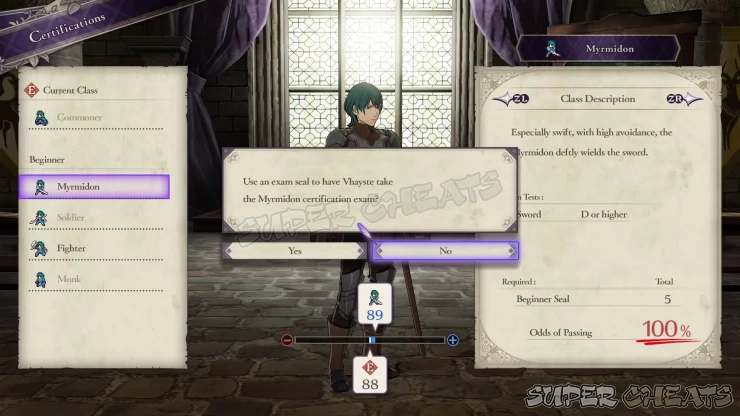
You’ll also have access to Certifications at this point, especially if one or more of your units reached LV5 in the previous battle. You’ll receive x5 Beginner’s Seals so you can certify 5 units.
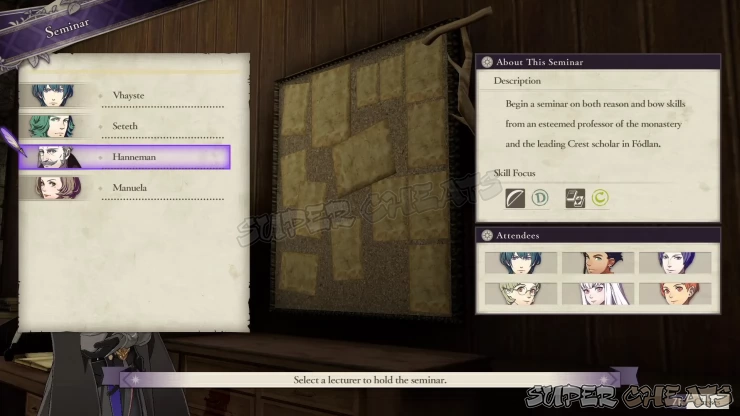
For this weekend, you have two activity options: Seminar or Rest. I suggest taking the Seminar. When choosing an instructor to lead the seminar, consider choosing the one with more students are attending.
Harpstring Moon: 5/30
A cutscene will trigger with your students. After the scene, you’ll be taken to the story battle the following day.

Harpstring Moon: 5/31
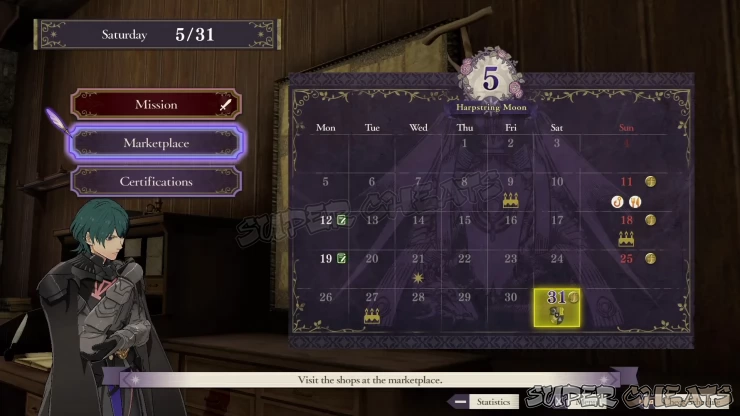
You only have the Mission Battle as the only available activity. This is your last chance to certify eligible students at this point. You can’t replenish your battalions yet since the guild is still not available; however, don’t forget to manage your units’ equipment and inventory. Once ready, head to the battle selection screen.
Battle: Red Canyon Dominance
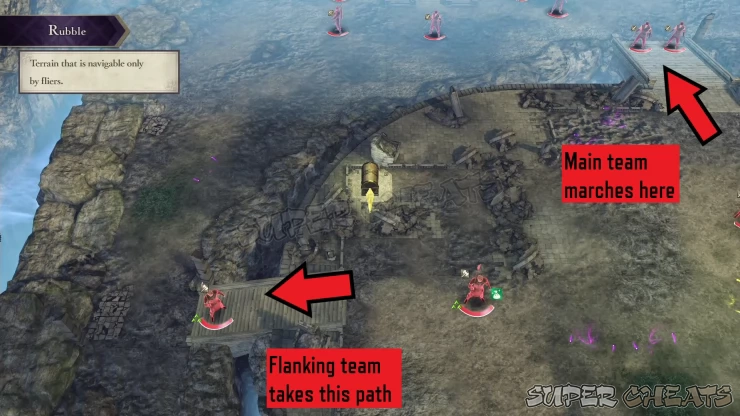
You can divide your forces again but at least the majority of them should take the northern route. Once the battle starts, have one or two of your melee units enter the Danger Radius of the two nearby enemies. Defeat them, heal up, then proceed to the middle area.
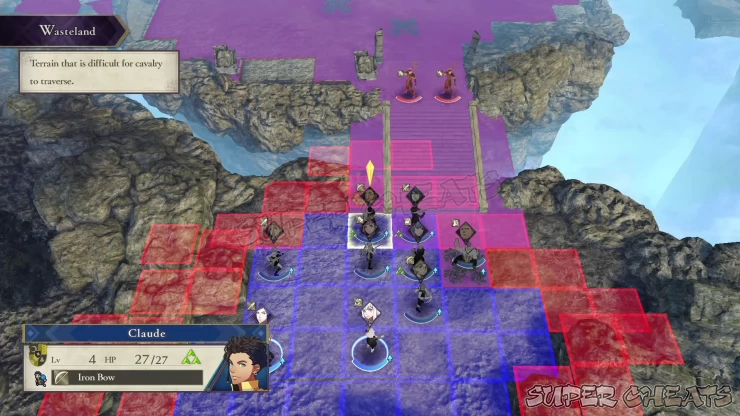
From there, you can arrange moving 1-2 of your units who will go on the western flank and open the chest. It won’t require a key so you can send anyone there. The enemies to the north will start moving to intercept your main group heading north.
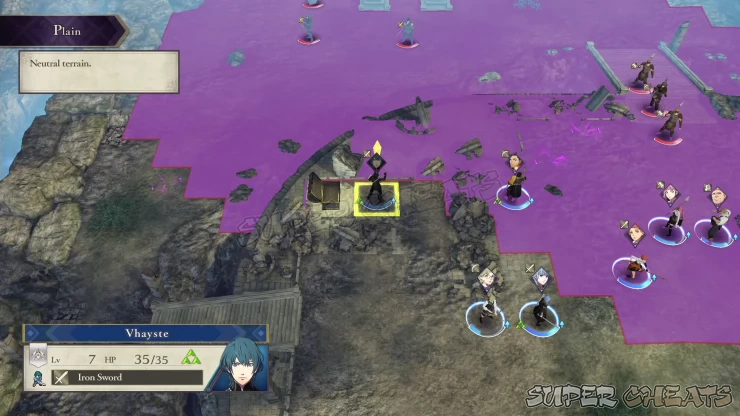
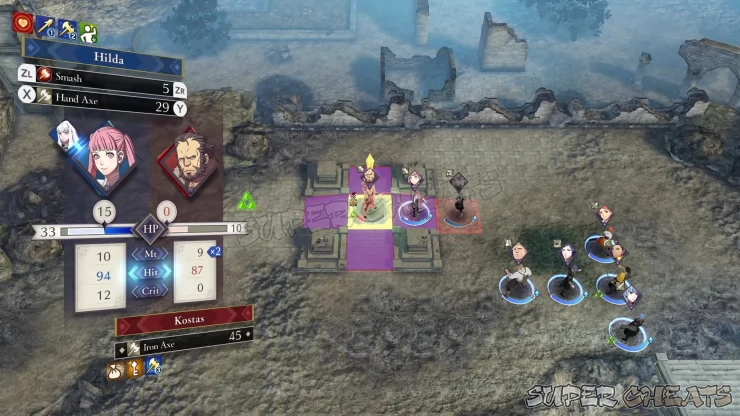
Once you’ve reached the northern and western flanks, the enemy numbers are just negligible at this point. Try to get all other Spirits before dealing with the boss. He only has one Attack Range on all sides and he won’t leave his position so you can surround him with your units so you can perform Linked Attacks and easily heal the frontline attackers as necessary.
After the battle, you’ll encounter some more cutscenes and the chapter will end.
Anything missing from this guide?
ASK A QUESTION for Fire Emblem: Three Houses
Comments for Chapter 2: Familiar Scenery
Add a comment
Please log in above or sign up for free to post comments- System Features
- Monastery Basics
- Lessons
- Activities
- Facilities and Areas
- Character Guide
- Classes
- Combat Basics
- Part 1: White Clouds
- Part 2: Verdant Wind
- Quests
- Paralogues
 Join us on Discord
