How to Unlock and Use Different Utilities
Wuthering Waves lets you use a wide range of gadgets for combat, exploration, and other uses. In this page, we will discuss the various utilities you can unlock in the game and how you can use them.
Utilities Basics
After unlocking Utilities, they're immediately available for use. Some utilities like the Grappling Hook and Levitator are automatically equipped when you're near objects where you can use them. There's a very short cooldown after every use.
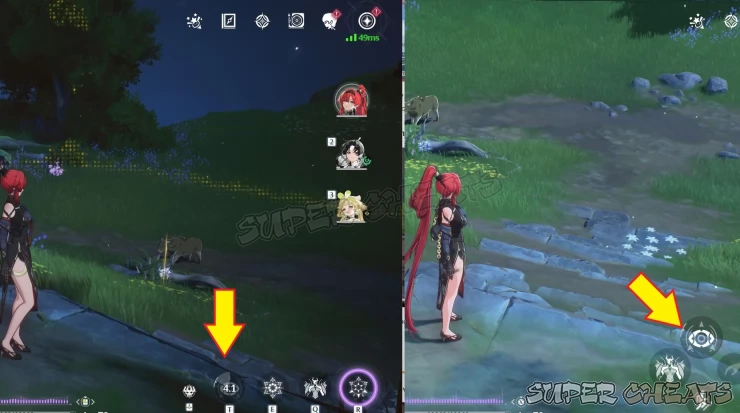
For mobile users, you can conveniently activate the currently equipped Utility since it is located among the other attack buttons in the lower-right corner of the screen. When using the keyboard on the PC, you just need to push "T". When using a Controller, you'll have to press the left bumper (LB or L1) button to bring up the secondary command circle and press X or Triangle.
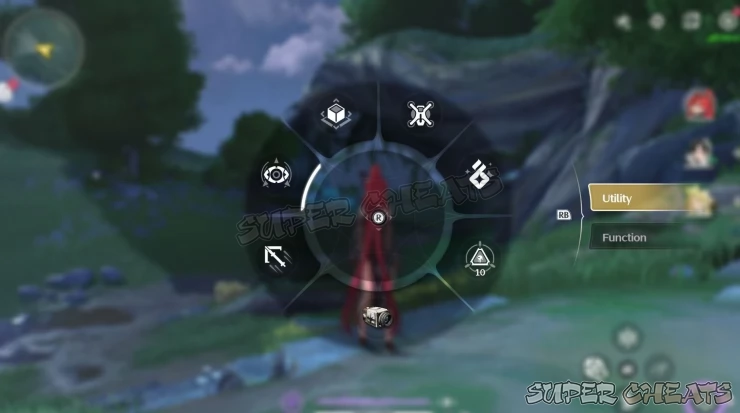
To manually change which Utility to equip, you have to bring up the Utility Wheel. For the PC, you'll need to press the TAB key and when using a Controller, you just need to press the LEFT Dpad.
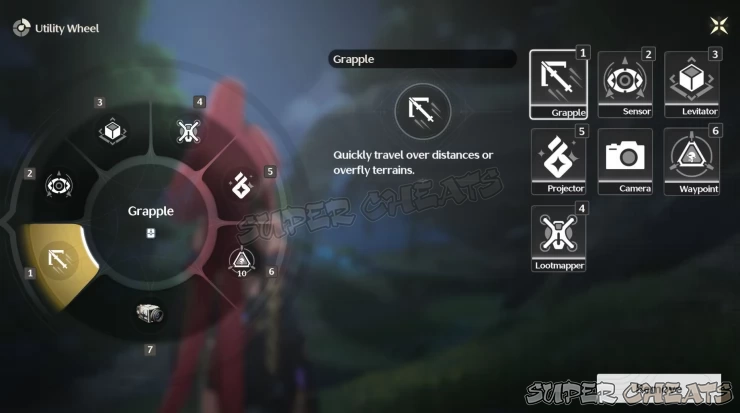
You can also re-arrange how the Utilities appear on the Utility Wheel by accessing the Main Menu and going to the second page.
Unlocking Utilities
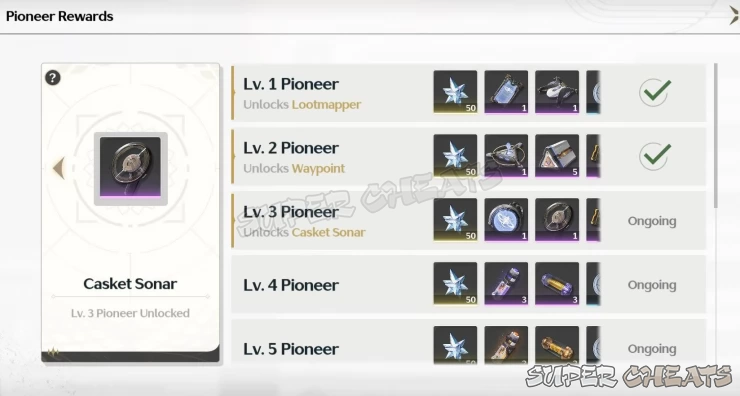
Main utilities (Grappling Hook, Sensor, Levitatorm, and Camera) are unlocked early in the game by going through the main quests. Other exploration Utilities such as Waypoint, Lootmapper, and Casket Sonar are unlocked as you increase your Pioneer Level in Jinzou's Pioneer Association. (Check our dedicated guide for that to learn more).
Finally, you can get a combat-oriented Utility called the Projector by completing the side quest "Silver-Haired Echo Trainer". This will allow you to deploy a projection of the Echo equipped by the current character and be used for parrying or blocking enemy attacks or just simply displaying the echo so you can take photos of it or appreciate it.
We will discuss the tools below and how to use them in their own separate sections below.
Grappling Hook
This tool will allow you to use grappling points to easily traverse huge distances over the air quickly without using stamina. If there are multiple grappling points, you can easily connect to them in quick succession since you can also use this tool in mid-air.
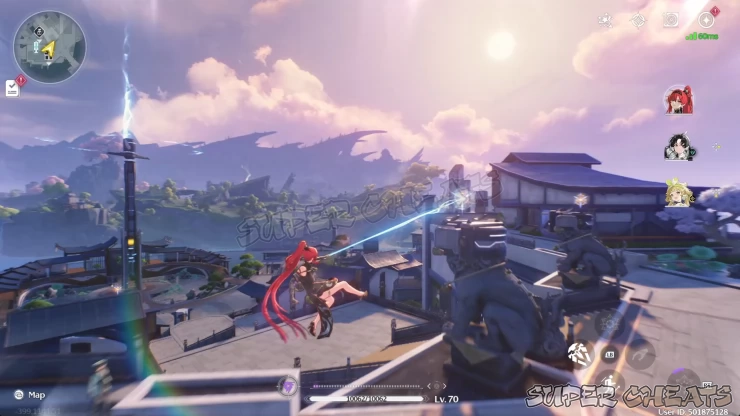
In the wild, you might encounter Grappling Launchers which will allow you to place grappling points in mid-air within the launcher's range or angle. Keep an eye out for these launchers in areas where traversal can be difficult without using the grappling hook.
You can still use the Grappling Hook even without attaching to grappling points. When you use it while gliding, it can give you a good vertical boost once per flight. When wall climbing/running, using it will give you also a bonus boost without using up stamina - perfect for reaching the ledge or edge of a cliff during a climb that you'll otherwise miss.
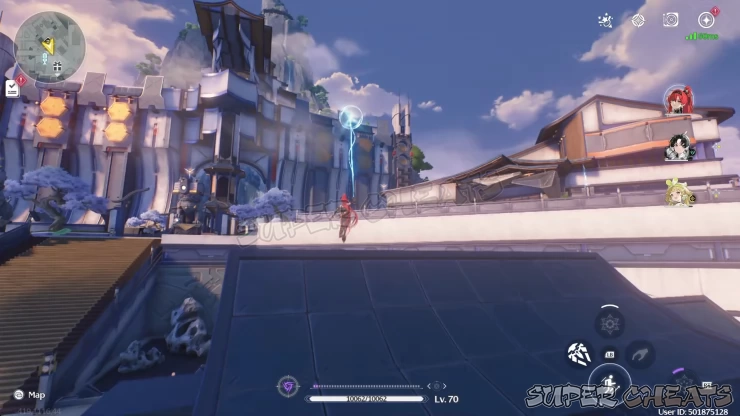
In combat, you can use the Grappling Hook's vertical boost for evasion or getting into a good position to perform a plunging attack though pulling this off will require some practice and good timing.
Levitator
You'll unlock this tool alongside the Grappling Hook during the First Resonance main quest. As the name implies, this tool allows you to pick up specific objects that can be used to interact with the environment. One good example is that you can use it to pick up an explosive charge and throw the charge to burn vines, destroy rocks, and other destructible objects.
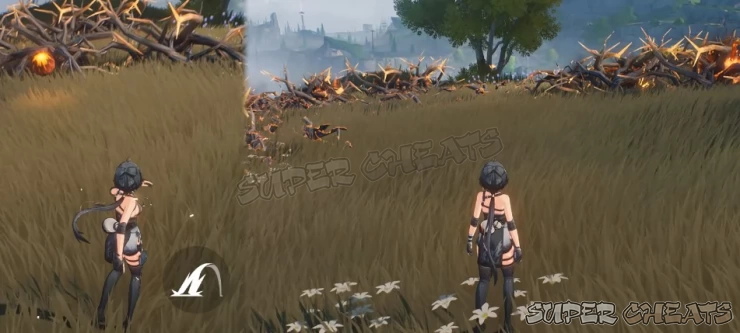
Some puzzles will also require the use of the Levitator such as lifting power cells to open locked doors, lifting heavy options to operate pressure plates, and more. Thankfully, the game automatically switches to the Levitator when you're near an object that can be lifted by it while retaining the other Utility you have currently equipped. This saves you time and effort from switching these utilities manually.
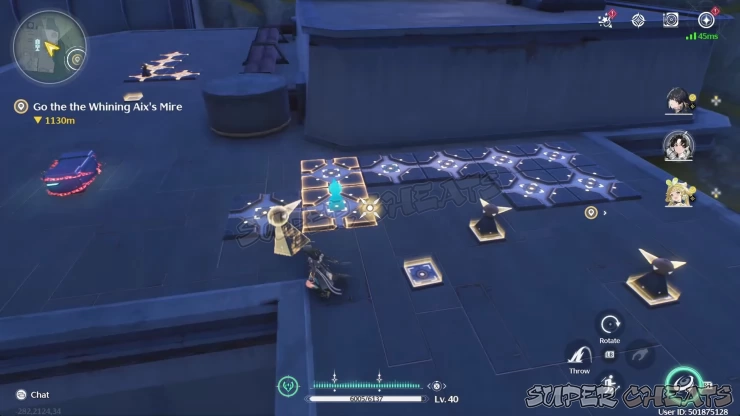
When lifting objects with the Levitator, you can manually aim them by holding LT and pressing the attack button (on the Controller). When using the keyboard, you have to press G to aim then LMB (left mouse button) to throw. This is useful when using explosive charges to destroy vines, rocks, and other destructible objects. The objects that you pick up with the Levitator are tied to their immediate vicinity so if you happen to move too far from where you're supposed to use them, they'll vanish and reset their position.
When dealing with pressure plates, you don't need to throw the heavy cube. You will want to step on the pressure plate while levitating the cube, then gently drop it. When using the Controller, you will need to lift the cube then press LB/L1 again to drop it.
Out of all the items that you can pick up with the Levitator, explosive charges are the most versatile since you can use them to conveniently destroy mineral deposits from a distance. If there are enemies nearby after picking up the explosive charge, the game auto-locks to the nearby enemy. Hitting enemies with explosive charges deal miniscule damage but the blast is powerful enough to temporarily stun them and stop them at their tracks (with the exception of more powerful enemies). Explosive charges just respawn indefinitely so even if you didn't get your aim right before, you can freely try again without any repercussions.

Sensor
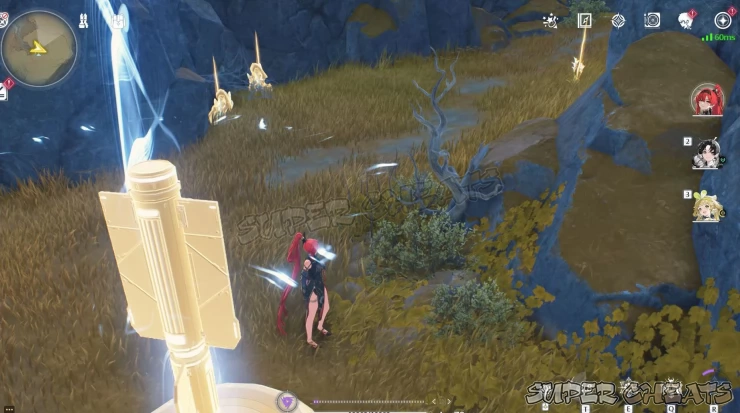
This tool allows you to detect hidden clues and objects of interest, usually required during quests and side quests. For normal exploration, the Sensor conveniently highlights materials and minerals nearby that you can gather and other environmental objects that you can interact with. If you're doing a quest or side quest that just tells you to explore a certain portion of an area without other tangible clues, using your Sensor to highlight points of interest will be very useful and might help you progress through the quest.
Zoom Camera
The default camera is available at the start of the game, which provides basic features like full angle control and zoom, as well as some features like depth of field, focal distance, etc. You can access the camera by opening the main menu. If you want to take photos regularly, you can even map the normal camera to one of your shortcuts in the Utility Wheel.
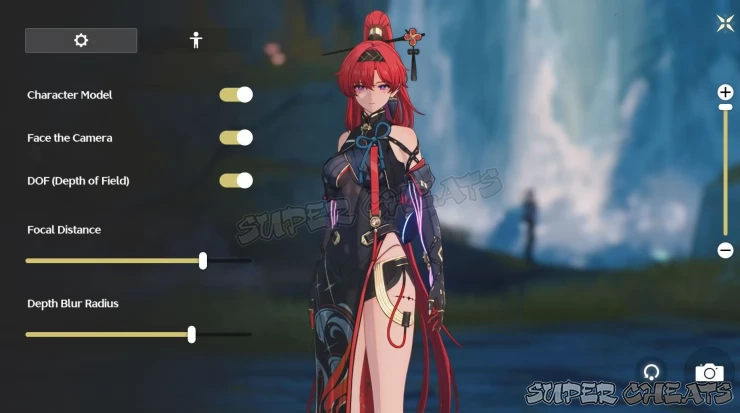
The Zoom Camera is a special Utility that is unlocked during the Photos of Jinzhou side quest. This camera is different from the normal camera since you can only use it in very specific situations where you are required to capture marked subjects or objects.
Projector
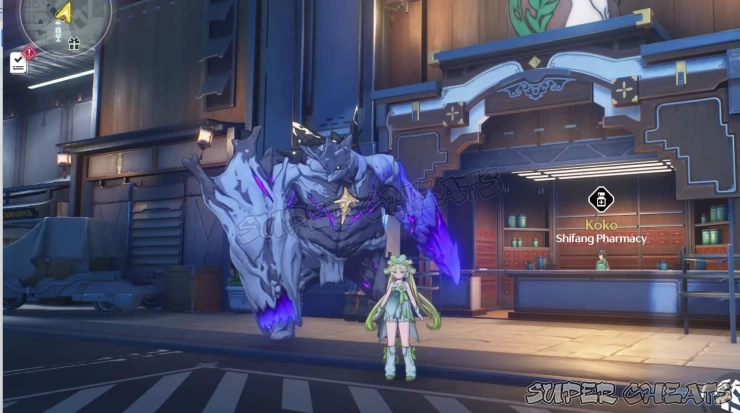
This tool will allow you to project a life-size copy of the Echo equipped by the current character. This can be used for parrying or blocking enemy attacks though you may need to get some practice to properly get the proper timing. If you just want to take photos of your echo or appreciate it, you can also use this tool to display the echo, giving you a few seconds to quickly snap a photo of it using your camera. You can unlock it by completing the side quest "Silver-Haired Echo Trainer".
Waypoint
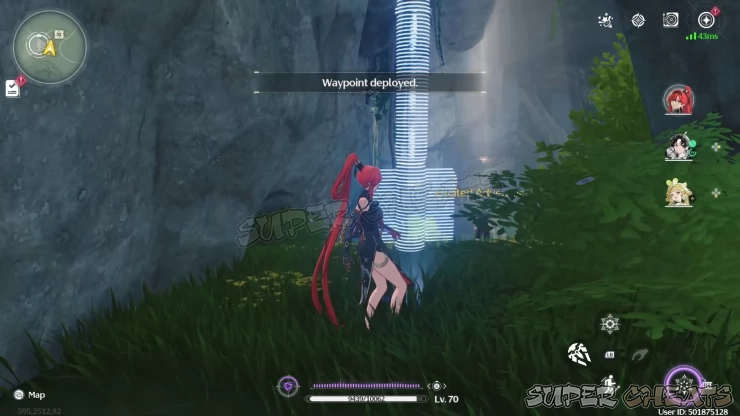
This is another very useful tool which allows you to deploy temporary waypoints (teleport points) on almost any spot on the map. You can unlock it after reaching Pioneer LV2, which also awards you with the recipe for synthesizing Waypoint Modules - the craftable consumables needed to deploy these waypoints. You'll also get 5 waypoint modules so you can immediately use this tool. Waypoint modules can be crafted from the Synthesis station in Jinzhou, each requiring 5000 credits, Indigoite x5 and Floramber x5 - both common ores that you'll find in the wild.
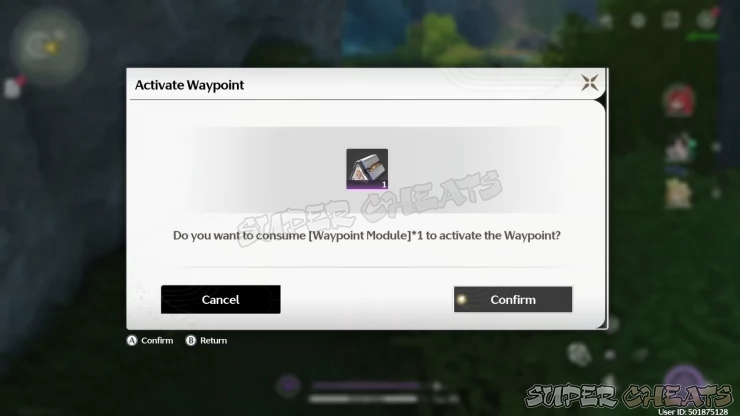
You can deploy up to three different waypoints on the map. These waypoints do expire over time and if you add more waypoints, you have to delete one of the waypoints you already deployed. Take note that deleting waypoints will not refund any modules that you spent on them so be careful when using this tool as an accidental deployment is a clear wastage of modules. Some of the recommended spots to place these waypoints are right in front of bosses so you can easily farm them, near the confirmed spawn points of Phantom Echoes, or in areas with inconvenient permanent waypoints that you want to continue exploring later on.
Lootmapper
You can unlock this tool at Pioneer Level 1 at the Pioneer Association. Once deployed, the Lootmapper will mark all chests or tidal heritages within the immediate vicinity. While their locations are displayed on the map, the Lootmapper will not be able to give the exact direction of the chests or heritages. If these chests are also locked by puzzles or certain requirements, the Lootmapper will stick loyally to its namesake - mapping loots.
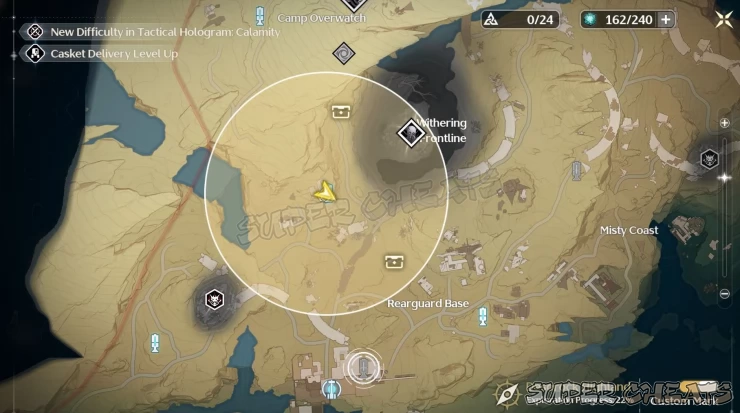
You can have up to three Lootmapper drones active. If you already have three of them deployed, you can just deploy the newest drone and the oldest one will be deleted. Active Lootmappers will not expire, won't consume any resources, and will even stay at a location even after you have found all possible chests or heritages.
Casket Sonar
You can unlock this tool at Pioneer Level 1 at the Pioneer Association. This tool allows you to track Sonance Casket - special items that you can collect and exchange at the Relic Merchant in Jinzhou to obtain certain rewards, including Ascension materials for Rover (main character).
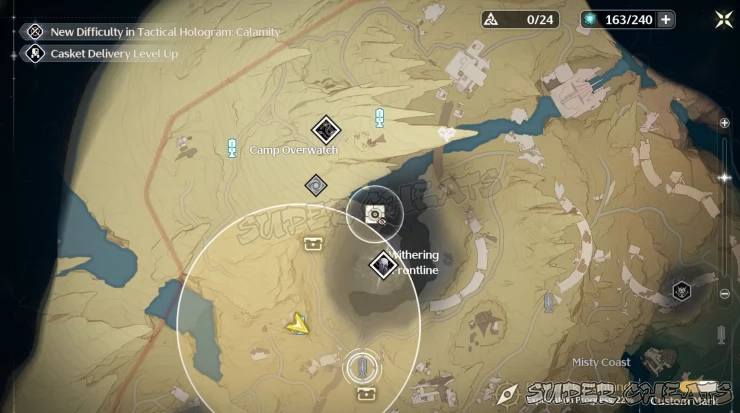
To activate the sonar, you'll need to synthesize Sonar Circuits. Each Sonar circuit will require Scarletthorn x10, Floramber x10, and 10000 shells. You need to set the Casket Sonar to the utility wheel first before you can activate them. After activating, the sonar will mark the nearest Sonance Casket on the map. This revealed casket will stay marked until it is claimed. Similar to the Lootmapper, the tool will not provide any clues or secrets on how to solve puzzles or open locations where the detected casket might be hidden.
Comments for How to Unlock and Use Different Utilities
- Introduction
- Changli Best Build
- Jinhsi - Recommended Build
- Verina - Best Build
- Yinlin - Recommended Build
- Jiyan Recommended Build
- Tier Lists
- Gameplay Guides
- Character Guides
- Echoes Guides
- Activities and Minigames Guides
 Join us on Discord
